
We believe in community, hard work &
compassionate care for the land and each other .
We believe that the best way to raise kids is to give them wide-open spaces to run, explore and learn how to get dirty and work hard. We believe in letting nature do what nature does best. We treat our animals with the best care and believe that healthy animals are animals who are treated as part of our family. We believe that life is too short to not do what makes you happy and being outside, caring for the land and these animals, makes us happy and makes the people who visit us happy too.
meet the farmher
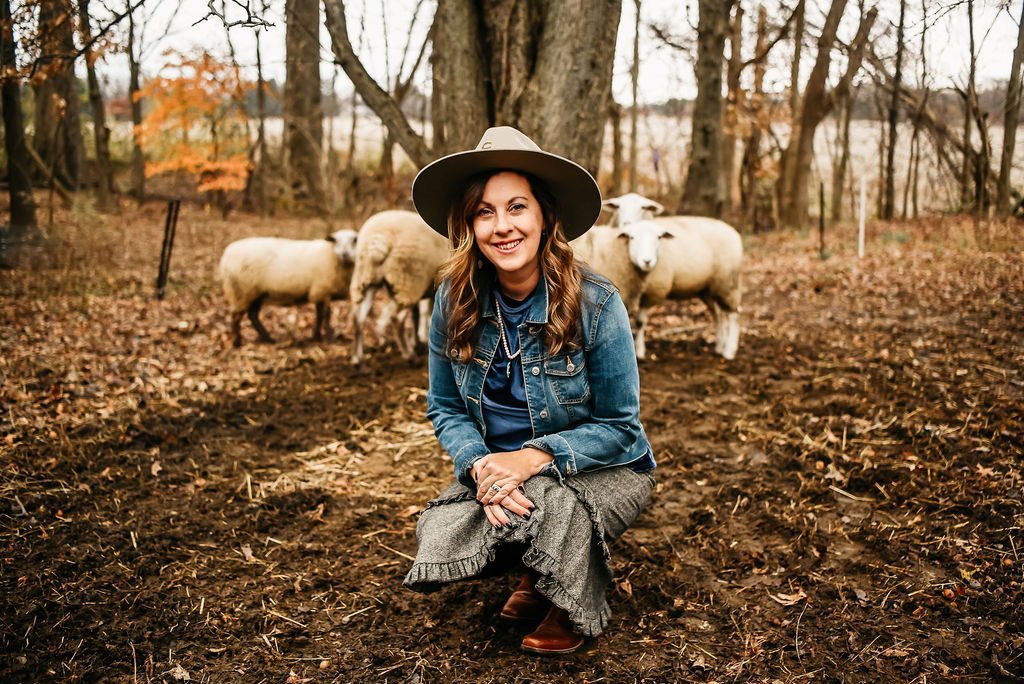
Trish Preston is the CFO (Chief Farm Operator) for Preston Family Farm. Supported by her family, she is up with the sun each day, caring for her livestock before heading off to her full time job or graduate school classes. She treasures this time in nature and to quietly spend time in prayer while she works.

committed to community
You can often find Trish sharing the story of their farm and agriculture with the many visitors that shop at the farm market or just come to breathe a little deeper here in the country. She is committed to inspiring families and kids to explore homesteading and all things agriculture in hopes of building the next generation to care for the land and farm in a sustainable way to feed our community, physically and spiritually.

About
Find out about our farm and our journey to help feed our community and build connections to agriculture. Anyone can grow food anywhere. Let’s connect over our shared values of conservation and simple living.

The 4-H connection
One of the best decisions we ever made as parents was to get our kids involved in 4-H. It has taught our kids to work hard, be resilient and confidant. From the arts to engineering, there is so much to explore.